Alpakka 1
OverviewManualGalleryComponents
Alpakka manual
DIY & Hardware
Setup
References
Profiles
Developer
3D-printed parts
3D models
The source designs are available from the Alpakka 3D-print repository, along with the rendered models for each release of the reference design.
The models are optimized for modern FDM (Fused Deposition Modeling) printers, which should easily be able to print all parts of the Alpakka.
3D printer
The parts are designed to not require any additional supports, even though for specific parts, such as the thumbstick and the home button, some supports are recommended for optimal performance (see below). Printers are expected to print at least 10 millimeter long bridges with reasonable accuracy.
Our best experience is with FDM printer from Prusa.
SLA / MSLA (Masked Stereolithography Apparatus, a.k.a. Resin) printers should also be an option, even though we have not yet tested this technology.
While private ownership of a 3D printer becomes increasingly common, you should alternatively check if such printers are available in your local library, university, or tinkerer workshop. Another option is the use of local or online 3D-printing services.
We also have a #diy-share-parts channel on our Discord server, with a very active and helpful community. There you may be able to get advice wrt. 3D printing, printing the Alpakka, 3D printers in general, or 3D printing services. You may also be able to find people in your vicinity, who are willing to help with your printing needs, or to share cost.
Materials
There are no specific requirements wrt. the selection of materials. For FDM printers, any suitable material should work well. Some, especially silk-PLA appear to be more brittle and thus less suitable for some components, such as the thumbstick.
Our best experience is with PLA from Prusa.
One requirement for the hexagon is conductive PLA. We have tested a number of different materials from various providers, but so far the conductive PLA from Protopasta was the only one that could reliable provide good results.
List of 3D parts
The following is a list of all the models and their recommended settings for FDM printing.
Layer height 0.15mm
| Preview | Name | Recommendations |
|---|---|---|
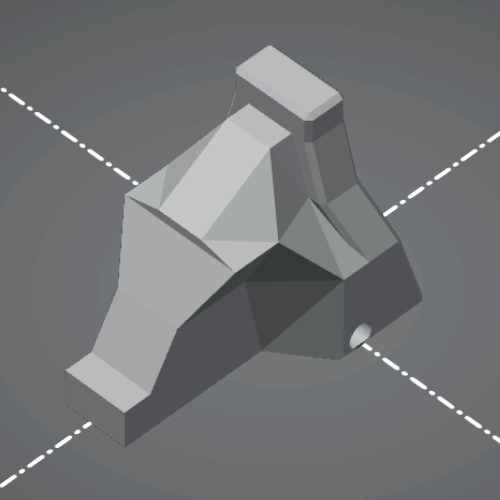
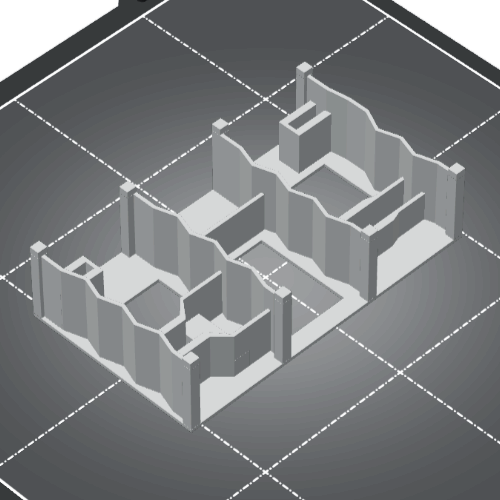
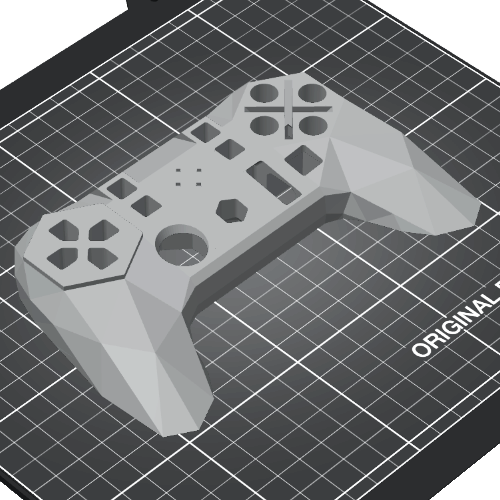 | Front case | 0.15mm layer height. Primary color in reference design. 10% gyroid infill. 2 perimeters. Very slow first layer. |
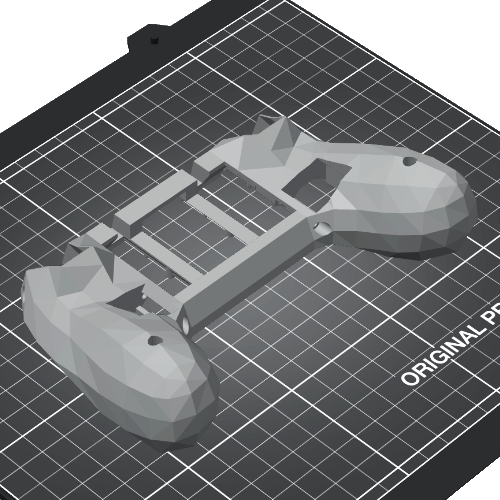 | Back case | 0.15mm layer height. Secondary color in reference design. 10% gyroid infill. 2 perimeters. Very slow first layer. |
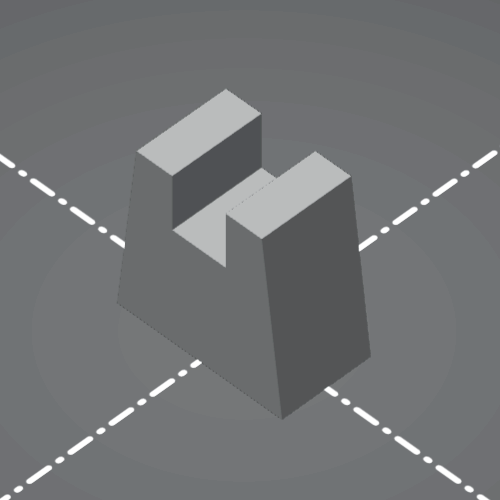
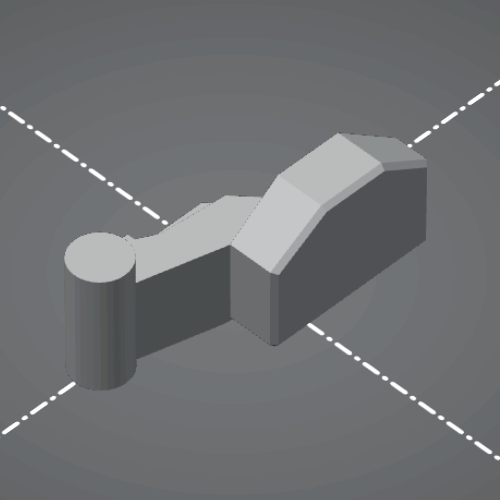 | L1/R1 triggers | 0.15mm layer height. Primary color in reference design. 15% gyroid infill. 2x units, mirrored. |
 | L2/R2 triggers | 0.15mm layer height. Primary color in reference design. 15% gyroid infill. 2x units. |
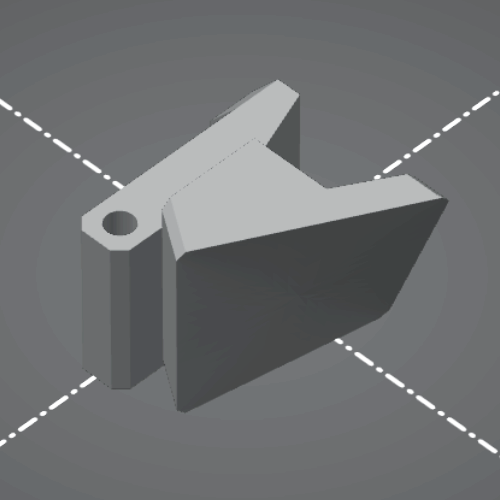 | L4/R4 triggers | 0.15mm layer height. Primary color in reference design. 15% gyroid infill. 2x units, mirrored. |
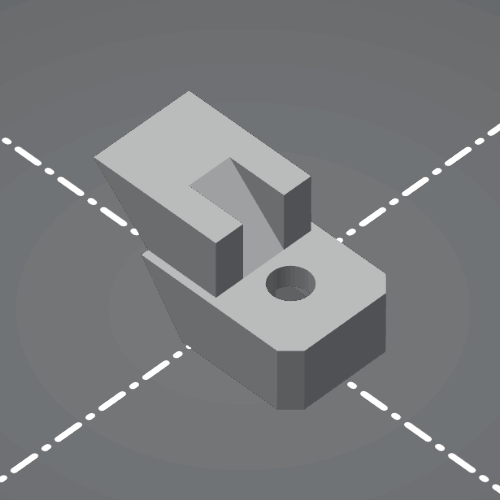
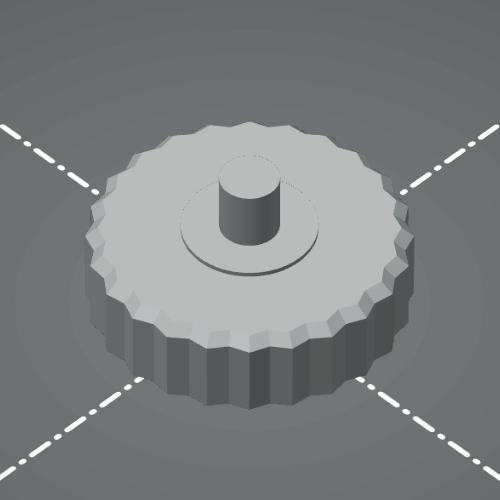 | Wheel | 0.15mm layer height. Secondary color in reference design. |
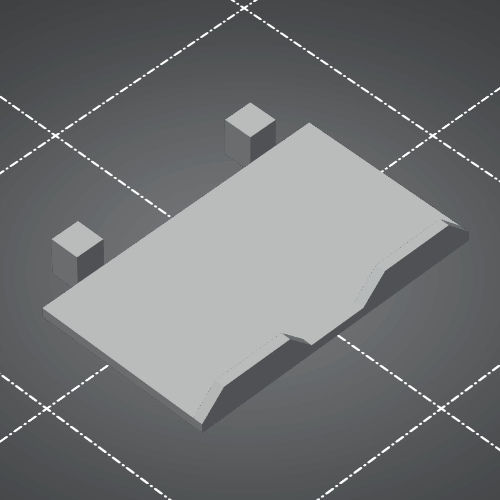 | Back bay cover | 0.15mm layer height. Secondary color in reference design. |
Layer height 0.07mm
| Preview | Name | Recommendations |
|---|---|---|
 | ABXY buttons | 0.07mm layer height. Secondary color in reference design. 15% gyroid infill. 4x units. |
 | Dpad buttons | 0.07mm layer height. Secondary color in reference design. 15% gyroid infill. 4x units. |
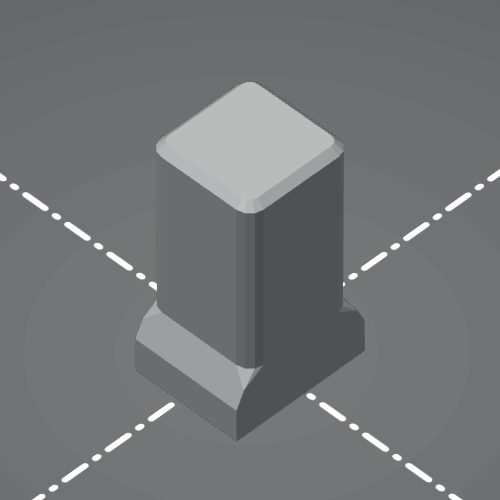 | Select buttons | 0.07mm layer height. Primary color in reference design. 15% gyroid infill. 4x units. |
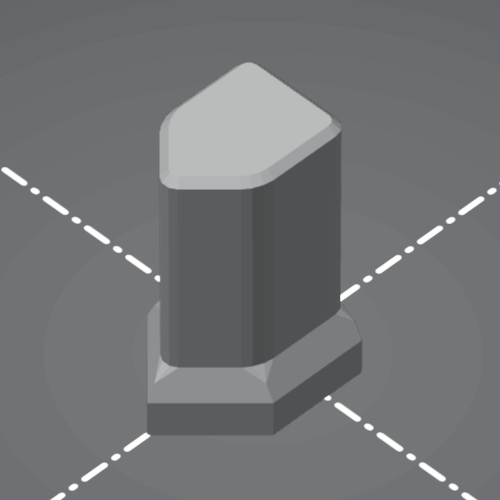
 | Home button | 0.07mm layer height. Secondary color in reference design. 15% gyroid infill. Custom supports. See additional notes. |
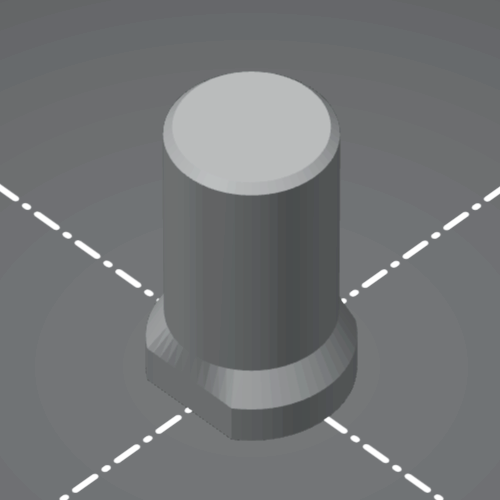
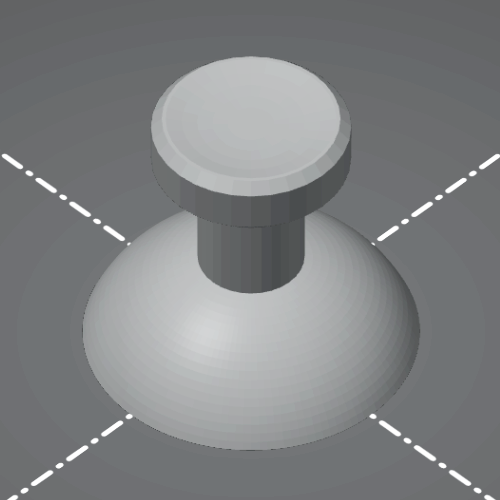 | Thumbstick cap | 0.07mm layer height. Secondary color in reference design. 15% gyroid infill. Custom supports. See additional notes. |
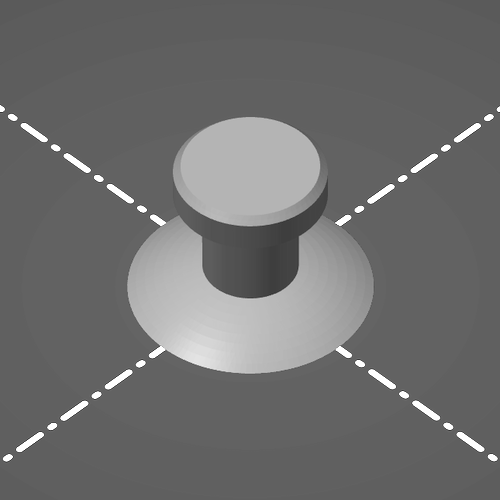 | Mini-thumbstick cap | 0.07mm layer height. Primary color in reference design. 15% gyroid infill. |
Electrically conductive material
| Preview | Name | Recommendations |
|---|---|---|
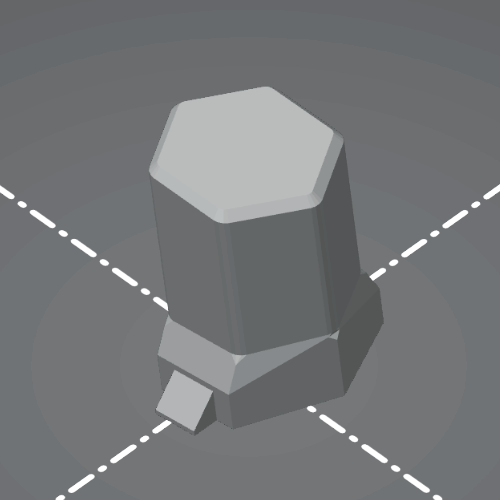
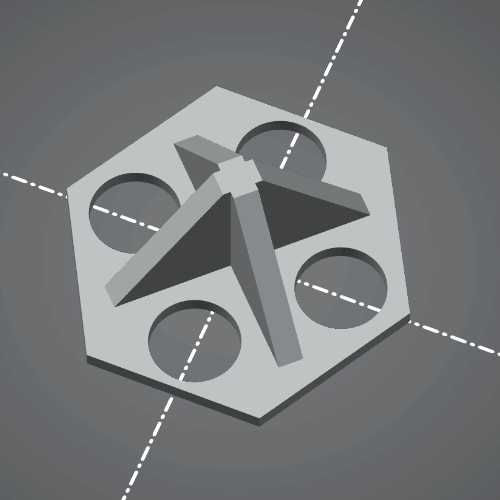 | Touch-sensitive hexagon | 0.15mm layer height. Electrically conductive material. 3 perimeters. If using Protopasta filament: 235°C. |
Internal / recycled material
| Preview | Name | Recommendations |
|---|---|---|
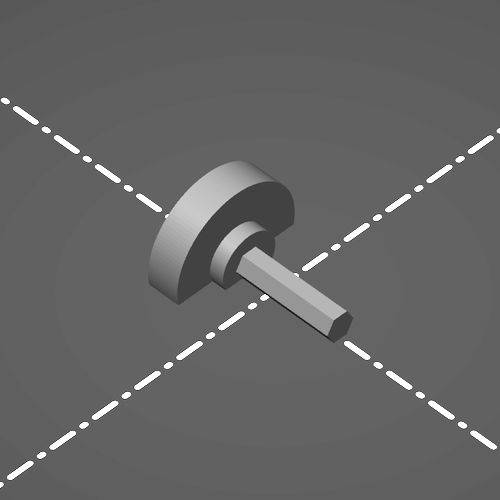 | Wheel core | 0.07mm layer height. Internal part / recycled. Consider using brim. |
 | Wheel holder | 0.15mm layer height. Internal part / recycled. Consider using brim. |
 | Anchors | 0.15mm layer height. Internal part / recycled. Consider using brim. 2x units. |
 | Soldering stand | 0.20mm layer height. Optional tool / recycled. |
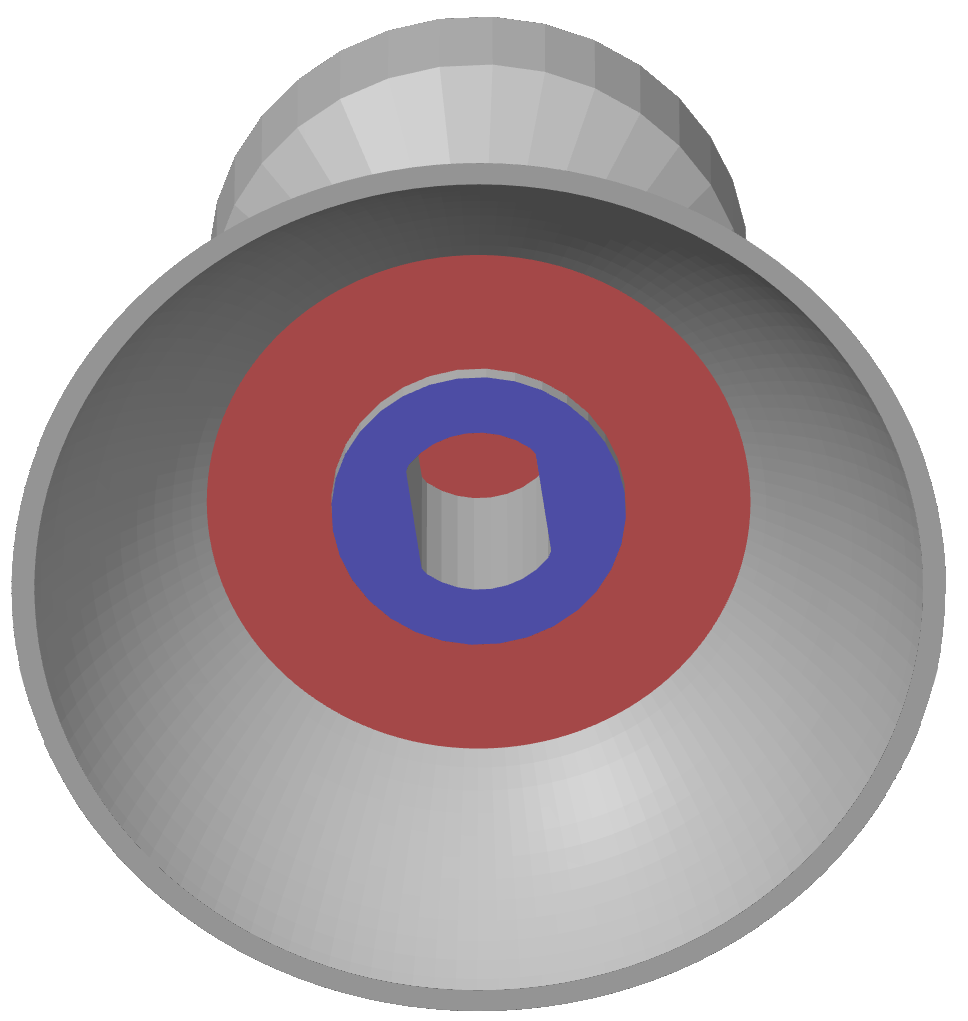
Additional notes (Thumbstick)
The thumbstick require custom supports:
- Force custom supports on areas indicated in blue.
- Avoid custom supports on the areas indicated in red.
- Disable automatic overhang supports in the slicer options.
- Consider using a brim around the perimeter for better bed adhesion.
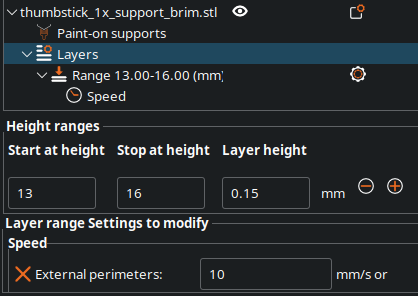
If you are having quality issues with the 45° overhang under the cap, try using these additional settings:
- For the range between 13mm and 16mm:
- Layer height of 0.15mm.
- Lower speed.
Additional notes (Home button)
For better result the home button is recommended to be printed at an angle, so the top face is "flat". This require custom settings:
- Tilt of 8.4 degrees (STL already exported like that).
- Custom support on the bottom face only.
- Raft with 5 layers and 1.5mm expansion.